In today’s fast-paced world, maintaining a healthy and comfortable living environment is crucial. One essential aspect of achieving this is ensuring the air you breathe in your home is clean and free from pollutants.
A HEPA filter can be a game-changer when it comes to purifying the air, and this guide will walk you through the process of how to install a HEPA filter.
Get Started with HEPA Filters
HEPA filters are renowned for their ability to trap tiny particles, including dust, pet dander, pollen, and even bacteria and viruses. They are a fantastic addition to any home, especially if you have allergies or respiratory issues. Here’s how to get started:
The Importance of Clean Air

Before we get into the nitty-gritty of HEPA filter installation, it’s essential to understand why clean air in your home matters. We spend a significant portion of our lives indoors, and the quality of the air we breathe can have a profound impact on our health and well-being. Indoor air can be loaded with allergens, dust, pet dander, pollen, mold spores, and even harmful microorganisms. All of these can exacerbate allergies, respiratory conditions, and even pose health risks.
HEPA (High-Efficiency Particulate Air) filters are your allies in the quest for cleaner indoor air. They are designed to capture particles as small as 0.3 microns with 99.97% efficiency. Installing a HEPA filter in your home’s HVAC (Heating, Ventilation, and Air Conditioning) system can significantly improve the air quality, making your living space more comfortable and healthier.
The Essentials for HEPA Filter Installation
Before you begin the installation process, it’s crucial to have all the necessary tools and materials at your disposal. Here’s a list of what you’ll need:
- HEPA Filter: Select a HEPA filter that is compatible with your specific HVAC system. It’s important to choose the right size and type for optimal performance.
- Screwdriver: You’ll require a screwdriver to open the access panel of your HVAC system.
- Safety Gear: Prioritize your safety. Wear gloves and a mask to protect yourself from any dust or debris that may be present during the installation.
Step-by-Step Guide for Installing a HEPA Filter

Let’s go through the step-by-step process of installing a HEPA filter in your HVAC system:
Step 1. Turn Off the HVAC System
For safety reasons, the first step is to turn off your heating and cooling system at the thermostat. This will prevent any airflow during the installation, ensuring a safe and effective process.
Step 2. Locate the Filter Slot
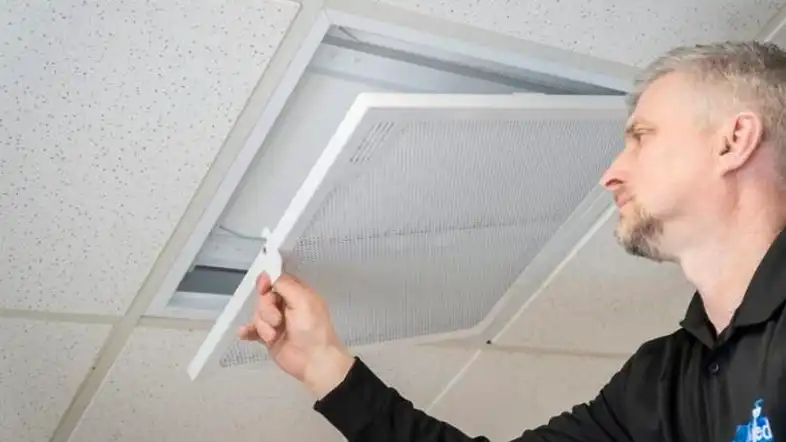
The filter slot is where the HEPA filter will be placed. It’s usually situated behind a cover or panel in your HVAC system. The exact location might vary depending on your HVAC setup.
Step 3. Remove the Old Filter (if present)
If there’s an existing filter in the slot, carefully remove it. Old filters lose their effectiveness over time, so it’s essential to replace them. Make sure to dispose of the old filter properly.
Step 4. Position the HEPA Filter
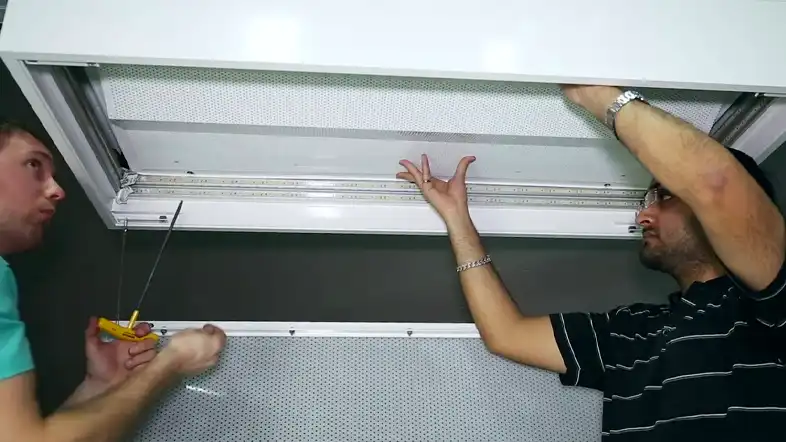
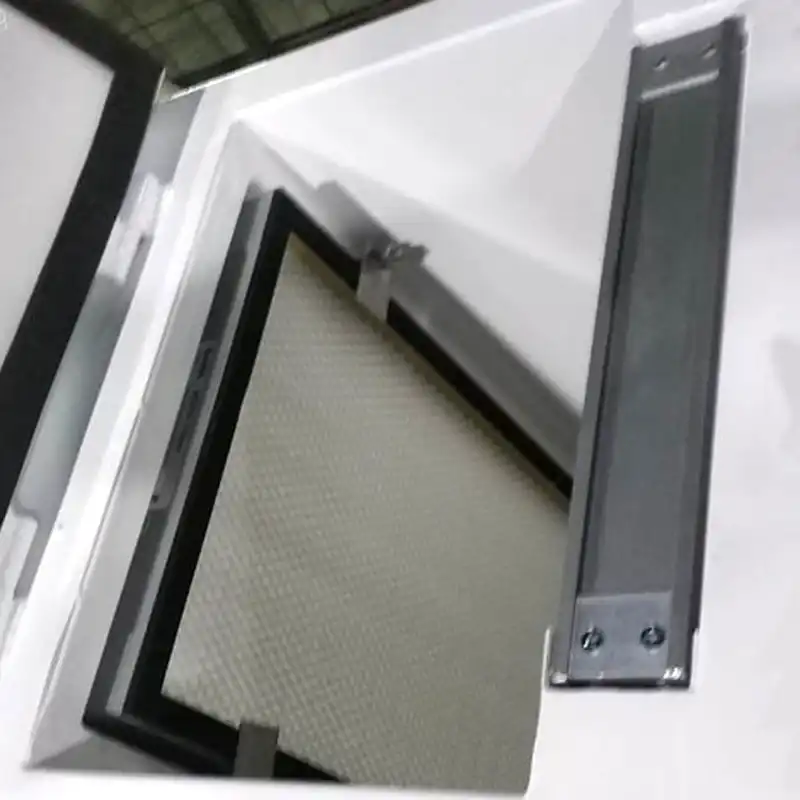
Now, take your new HEPA filter and gently slide it into the filter slot. Pay close attention to the arrows on the filter frame. These arrows indicate the direction of airflow. It’s vital that they align with the direction of airflow in your HVAC system. This correct orientation is critical for effective filtration.
Step 5. Replace the Cover
After the HEPA filter is securely in place, replace the cover or panel that you removed earlier. Ensure it is correctly and firmly secured. This cover ensures that the air passes through the HEPA filter before circulating throughout your home.
Step 6. Turn the HVAC System Back On
With the cover securely in place and the HEPA filter properly installed, it’s time to turn your heating and cooling system back on. Your HVAC system will now draw air through the HEPA filter, effectively removing tiny particles and contaminants that can diminish indoor air quality.
The installation of a HEPA filter is a straightforward process, and it can significantly enhance the air quality in your home. To maintain the best performance, remember to replace your HEPA filter as recommended, typically every 6 to 12 months. By following these basic steps, you’ll be on your way to enjoying cleaner and healthier indoor air, ultimately improving your overall quality of life.
FAQs
Can I clean and reuse a HEPA filter?
HEPA filters are designed to be replaced, not cleaned. Cleaning a HEPA filter can damage its fine fibers, reducing its effectiveness.
How often should I replace my HEPA filter?
It’s recommended to replace your HEPA filter every 6 to 12 months. However, if you have allergies or pets, consider checking and replacing it more frequently.
Will installing a HEPA filter improve my indoor air quality?
Absolutely! HEPA filters are highly efficient at trapping particles, making the air in your home cleaner and healthier.
Can I install a HEPA filter in a portable air purifier?
Yes, you can. Many portable air purifiers come with HEPA filters, and the installation process is similar.
Do HEPA filters eliminate all allergens and pollutants?
While HEPA filters are excellent at capturing small particles, they may not remove certain gases or odors. Consider additional air purifying methods if needed.
Are there any potential health benefits to using HEPA filters?
Using HEPA filters can lead to improved respiratory health, fewer allergy symptoms, and a generally healthier indoor environment.
Conclusion
By learning how to install a HEPA filter, you’re taking a significant step towards a healthier and more comfortable home. Breathing clean and pure air can make a world of difference in your overall well-being. Remember to replace your HEPA filter regularly to ensure it continues to provide the best air quality. With these simple steps, you can enjoy the benefits of clean and refreshing indoor air.


